

Newborn Photos Prep Guide

Welcome!
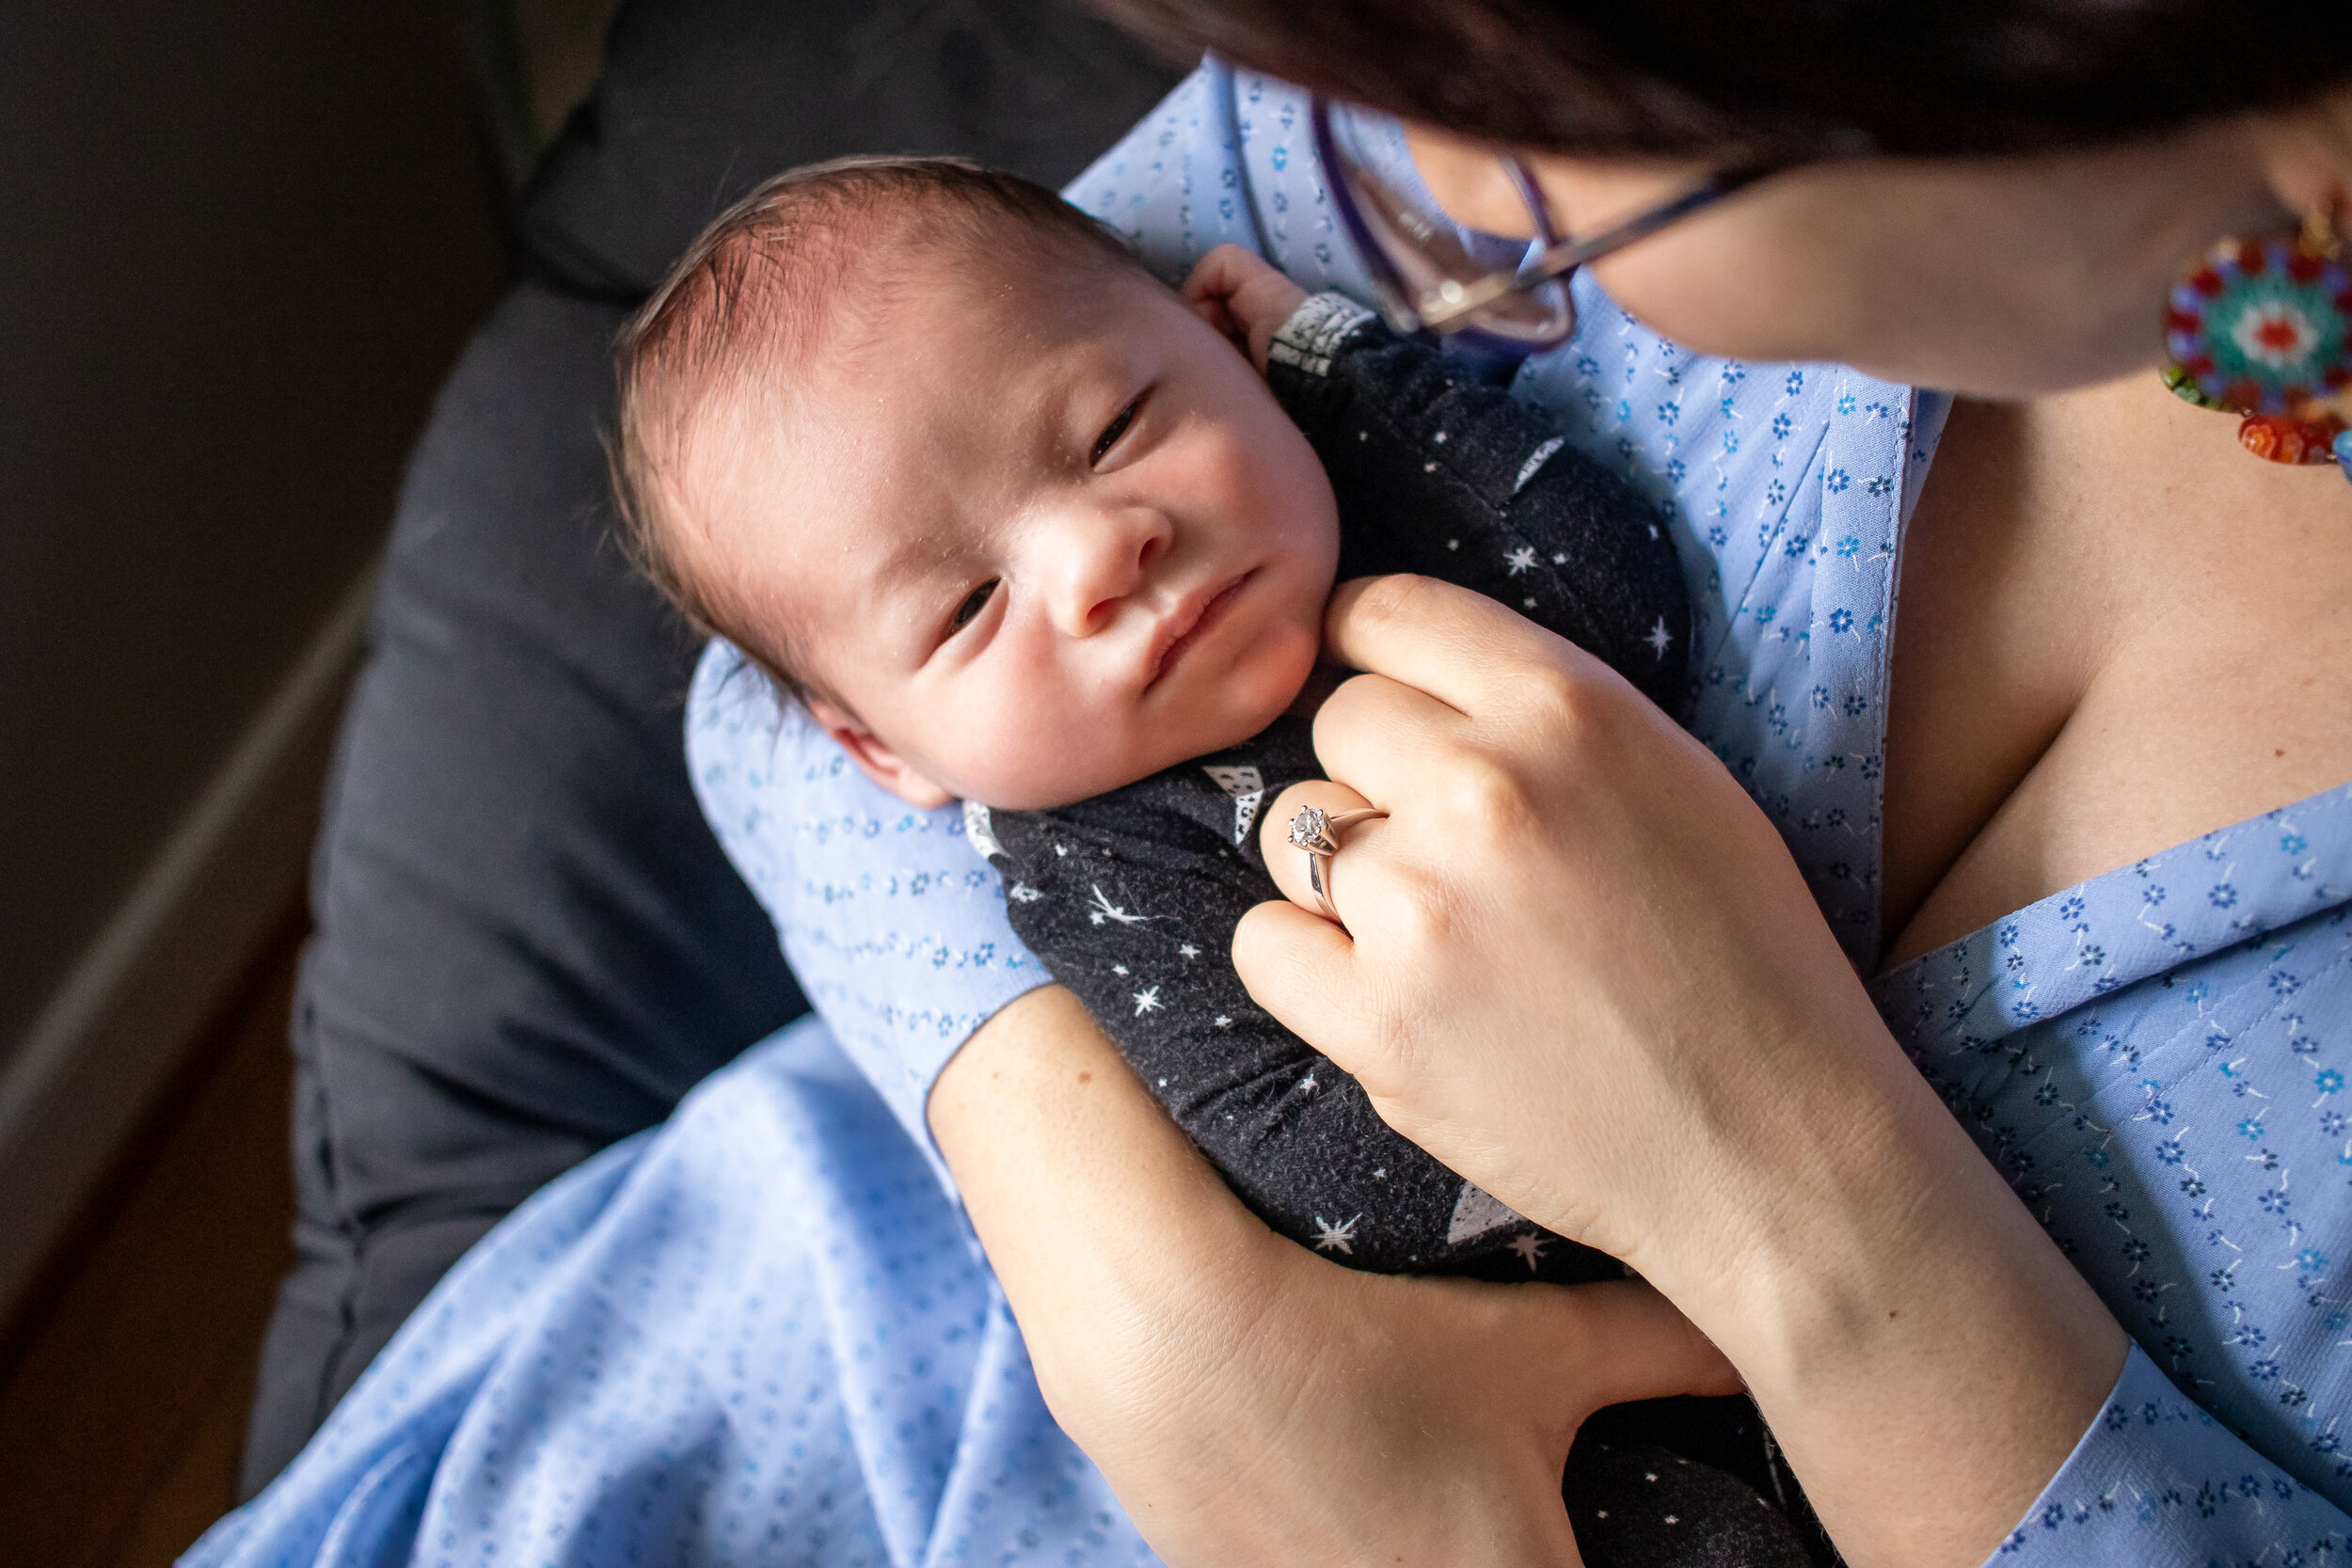
Thank you so much for choosing Allison Patel Photography, and trusting me to document your family’s love and connection. My goal is to help you fill your home with true images of your favorite people, and this guide will help walk you through the prep.
Whether this is your first or fifteenth professional photo session, you’ll have all the info you need to be ready for it. And of course, if the guide doesn’t answer a question you have, I’m available via phone/text at 804-286-0314, or via email at allison@allisonpatelphoto.com.
Let’s get started!


Pre-session Prep
Home Prep
Because we’re meeting at your home, you’ve got some light homework to do (get it? home…work…), but trust me, it’ll be worth it.
Ahead of our session, do a general sweep of your home for clutter. We could photograph in any windowed room of your house. I’ll do a walk through when I arrive so we can choose the best place(s) for our session, and we won’t want to spend our time cleaning up breast pumps or shoving laundry baskets out of the way. Go ahead and store the clutter in a closet, cabinet, or drawer, or in a windowless room.
Open the curtains and blinds in each room, and turn off all overhead lights and lamps. The sun will be our guide for the best rooms and spots to photograph.
Turn up the heat a few degrees warmer than you’re used to. Babies really don’t like to be cold!
You’re fresh from having a baby so it doesn’t need to be perfect; I’ll be focused on the people, not the things. We just want to remove distracting elements that you wouldn’t want photographed. If you want the realism of the pump, laundry, and baby equipment to be remembered, feel free to leave it all out.

Mental prep
Mentally prepping for your newborn photos might not be on your list of to-dos along with surviving the first few weeks of life with a newborn, but it’s an important step in the prep process. Here are some tips to get everyone mentally ready for my visit:
Tell any older kids in advance. The same way you tell them when their grandparents are coming to visit, with time for them to get excited. Talk about the fun you’ll have together, the books you’ll read, and make it sound fun, not like something to dread. We’ll have a good time, and the focus won’t ALL be on the baby.
Tell your spouse. Deliberately, and repeatedly. Get their input on wardrobe, block the session time on their calendar, and share with them what you hope to get out of it. (If you have older kids who understand adult concepts like expectations, feel free to share with them as well).
Fill out your newborn questionnaire. In the same email as this prep guide, there is a questionnaire that asks you questions about your expectations for the session. Lay it all on me. What you want and don’t want. If there’s anything unrealistic in your answers (sorry, we can’t go to Disneyland during our session), I’ll let you know ahead of time so we can adjust the expectations and no one is surprised or disappointed.
Assume that your body will not have “bounced back” two weeks after birth, and give yourself grace to accept that. Your body carried a human for nine months, and it requires time to heal from the process of birth.
Anticipate that the session will go well, and focus on that outcome. It might seem silly, but if you’re anxious that it will go poorly, your body language will tighten and it will be harder to get the photos we want to get. We’re going to have a great time! We will take breaks whenever needed, to accommodate anyone who needs a snack or change.
Be aware that I will be masked the whole time I’ll be in your home. If siblings are nervous around strangers in masks, we can first do introductions while I stand outside, so they can see my face before I replace my mask.
Wardrobe
Do:
Choose comfortable, well-fitting clothing for each person.
Pick items that look and feel like “you.” (I don’t ever wear dresses, so choosing a dress for my session wouldn’t feel like me, for example).
Consider if you plan to breastfeed during our session and if your outfit should have easy access for nursing.
Bring in textures, like corduroy, soft knits, lace, and other fabrics that will look beautiful when seen up close.
Build the family’s outfits around a coordinated color theme for cohesion. Jewel tones, neutral tones, earth tones, pastels, etc.
Have heirloom items that you’d like photographed, like blankets, stuffed animals, outfits, booties, hats, etc., set aside so we don’t need to search for them during the session.
Have a change of clothes ready for each person in case of spit-up and other leaks.
Don’t:
Choose neon colors - they don’t photograph well and will add a color cast to skin when light is added.
Pick items with logos or graphics - they distract and don’t age well.
Put everyone in the same matching outfit (black shirts/jeans, blue shirts/khakis, etc).
Wear black - Slimming rumors aside, black tends to show shedded hair and skin more than other colors. It tends to make people disappear inside the house. Charcoal or navy are slightly less harsh and photograph better.
Be afraid of pattern. Do choose a smaller pattern that won’t detract focus from the people in the photos.
Shy away from color. Picking up bold colors from a more subtle outfit for a pop of color can look amazing. For example, if Dad is wearing a plaid shirt, draw one color from it and have one child wear that color.
Jewelry: I recommend you remove any tech gadgets (Apple watches, Fitbits, etc). Regular watches can be distracting, so unless they’re specifically being worn for fashion’s sake, you can leave those off as well.
Pockets: Try to keep your pockets as empty as possible. Phone and key bulges can be distracting. Put on chapstick or lipgloss before we start, and then don’t worry about trying to reapply between shots.
Footwear: We’ll be team Bare Feet all the way. If you’re very against bare feet in the house, dark socks are a good alternative, as anything you wear on your feet will be seen in the photos at some point.
Need more inspiration? Check out my Pinterest board for ideas: what to wear for indoor sessions.


Session Day!
Day-of-prep checklist:
Time to get excited! Scroll back up and review the mental prep checklist, so everyone comes with the right attitude.
Make sure everyone (including you) is fed prior to our session.
Make sure clothes are stain and wrinkle-free, and have a backup outfit for the baby, you, and your partner. Just in case.
Remember to turn up the thermostat, open the blinds/shades/curtains, and turn off any artificial lights.

What we’ll do during our session
We’ll have 90 minutes, more or less, to enjoy your family and capture all the details of your new human. Don’t worry about watching the clock or filling time.
I’ll come in and set down my gear, and wash my hands first.
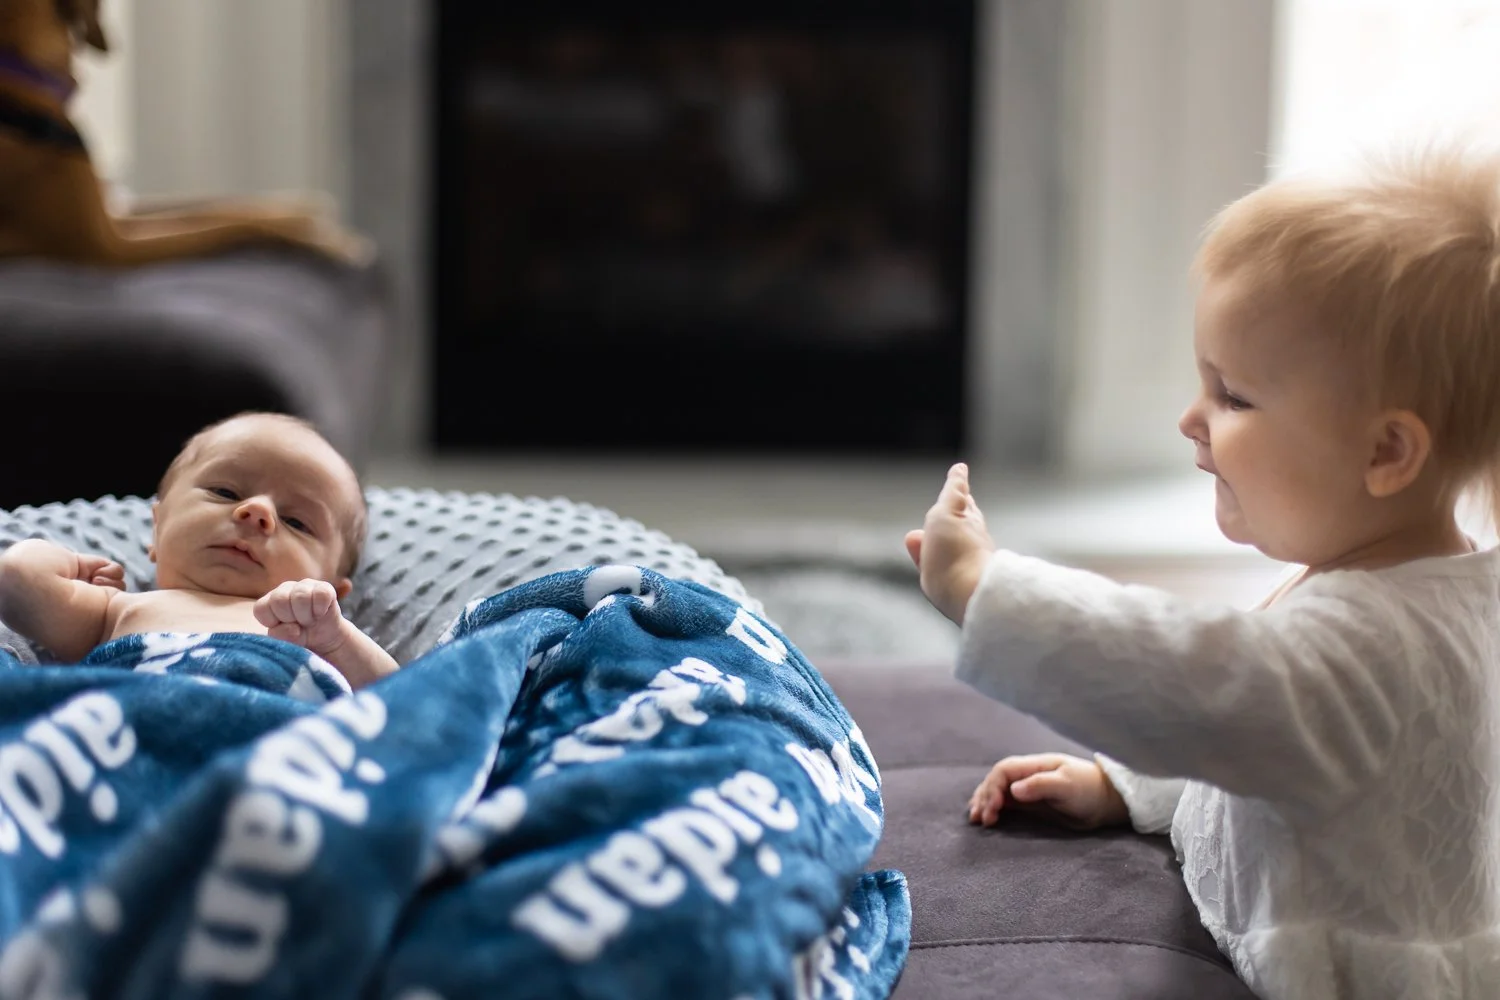
Then we’ll find the room(s) with the best light, and choose our activities accordingly. We might read a book on the couch, crowd up on the bed, or head to the nursery. We’ll follow the light and make our activities appropriate for the age of any siblings. If there are no siblings, we’ll do lots of snuggling.
I’ll make sure to include any specific photos that you requested via that newborn questionnaire, and get parents, siblings, and baby in lots of different configurations.

Kids and Photos
You are off the hook for trying to get your kids to smile for photos. “Cheese” is not a word we’ll use.
Some kids see the camera and are instantly ready for their close-up. They like to have their picture taken, they want to see the back of the camera (and I may oblige once or twice), and they’re all about it.
Others see a stranger with a camera (and a mask, if we’re indoors) and get insta-shy. They bury their head in their parents’ shoulders, and can’t bear the thought of being cooperative for a photo.
This is okay.
If older siblings need a break while we capture some individual baby or parent/baby photos, that’s totally fine. If they crave being in the center of attention, we’ll accommodate that as well.
Adults and Photos
Along the same lines as kids, not all adults are gung-ho about having their picture taken, and I get that. We won’t fight that, and I won’t require anyone to smile for the camera while I’m there.
I’ll give you some light posing suggestions, tell you to move this way or that way to accommodate the light, have you tilt your head to further establish connection, and then allow the scene to play out naturally. If the baby cries, comfort her.

After the Session
After your session I’ll curate our images down to tell your family’s story, edit the images, upload them into your gallery, and email you your gallery link.
When you get your gallery link, make the most of it! Open it up on your TV or a large computer screen, gather the family ‘round, turn up the volume, and pass the tissues. The first time you see your photos is always the best.
You’ll have 30 days to download your images and spend your print credit in the gallery store.
Help downloading your image files:
In the time between our session and your gallery delivery, I’ll send you an email with a video explaining how the gallery works and how to download them, so you’ll be a pro when you get that email from me with your gallery link.
Copyrights (and wrongs)
Once you’ve got your digital files in hand, you are free to print them when, where and as often as you wish - you can use them to make holiday cards, share on your social media pages or personal blog, etc. The only things you can’t do are related to the resale of your photos or use for commercial/business purposes.
You’re welcome to share your downloaded images online. I’d love for you to tag me so I can join in the merry on your post. I’d also love to see the finished products when you have your prints hung; I love to see our art out in the wild!
While everything that I offer in my store is printed in professional labs and guaranteed to be high quality, I also recognize that you may want to print your images yourself, and thanks to those digital files, you absolutely can! I recommend Richmond Camera for local printing (you can order online). Be sure to de-select any color correction options, and upload the original files you downloaded, not copies, and not web-sized files. The high-resolution files you receive from me should allow you to easily print up to 20x30”.
Printing your images
Inspiration for how to use your print credit

Professional Lab Prints
Your favorite images, printed by an RVA small business professional lab on a smooth, textured photographic paper that hides fingerprints and smudges and shows colors true-to-life.
Available in a variety of sizes, and perfect for framing and hanging on the wall, or giving as a gift to family.
8x10 / $14 for the first one, $6 each after the first one
11x14 / $22 for the first one, $8 each after the first one
16x20 / $45 for the first one, $30 each after the first one

Mounted Prints w/ Bamboo Easel
5x7" prints, printed by an RVA small business professional lab on smooth, textured photographic paper and mounted on a black, lightweight board to make the print stiff and easy to display. Presented with a sustainable bamboo stand in a cool-toned walnut finish for displaying on a shelf or your desk.
5x7 / $40

Lay-Flat Albums
Custom albums are printed on true photo paper in a smooth, semi-gloss finish, which shows off excellent skin tones and accurate color.
The lay-flat binding allows for seamless, panoramic viewing of your session photos.
Choose from fabric, faux leather, or a favorite session photo for the cover of your album. Fabric and leathers are debossed with silver foil text, while the photo cover has the option of adding title text on the spine.
10 spreads (20 pages) are included in the price below. 20 spread albums are also available, and additional spreads (2 pages per spread) can be added for $25 each.
8x8 / $255
8x12 / $305

Bamboo Panels
Your image is printed on smooth, textured photographic paper and then mounted on sustainably harvested bamboo.
The distinctive bamboo pattern is exposed along the edge of the panel, at 3/4” deep, and adds a touch of outdoor flair to your art.
Bamboo panels arrive ready to be displayed, with a carved out keyhole on the back for hanging.
8x8 / $100
12x12 / $175
16x24 / $300
24x30 / $500
I’m here for you.
I hope this is a helpful resource for you as you prepare for your session, and consider how to use your images afterwards. Let me know if you have any questions that I didn’t talk about!
I can’t wait for our session!
